Sled Push and Pull: The Best Conditioning Tool You Are Not Using
Sleds build conditioning, leg strength, and mental toughness without the eccentric damage that wrecks your recovery. Here is how to program them for maximum benefit.
Key Takeaways
- The sled has almost zero eccentric loading, which means it builds conditioning and work capacity without creating the muscle soreness that interferes with your lifting days.
- For general conditioning, load the sled with your bodyweight and push it for 40-yard trips with 60-90 seconds rest for 6-10 rounds.
- Heavy sled drags build posterior chain strength and grip endurance that carries over directly to deadlifts and carries.
- Light sled work at the end of a session or on off days accelerates recovery by driving blood flow to your legs without adding meaningful fatigue.
- If your gym does not have a sled, a prowler or even a heavy tire on grass works the same way -- the tool matters less than the effort.
Get This on WhatsApp
Get a quick summary and link sent straight to your WhatsApp.
Send Me This ArticleThe Zero-Eccentric Advantage
Most exercises have two phases: a concentric phase (the muscle shortens) and an eccentric phase (the muscle lengthens under load). The eccentric phase is what causes most muscle soreness and tissue damage. That is why you can barely walk after heavy squats -- it is the lowering portion that destroys you.
Sled work eliminates the eccentric entirely. When you push or pull a sled, there is no lowering phase. You just push or pull, and the resistance stops the moment you stop applying force. This means sleds build conditioning and leg strength with dramatically less muscle damage and soreness than running, cycling, or squatting.
This is why sled work has become a staple for athletes and lifters who need to train conditioning without compromising recovery. You can push a sled to the point of complete exhaustion on Monday and squat heavy on Tuesday with zero issues. Try doing that after hill sprints.
Equipment Options
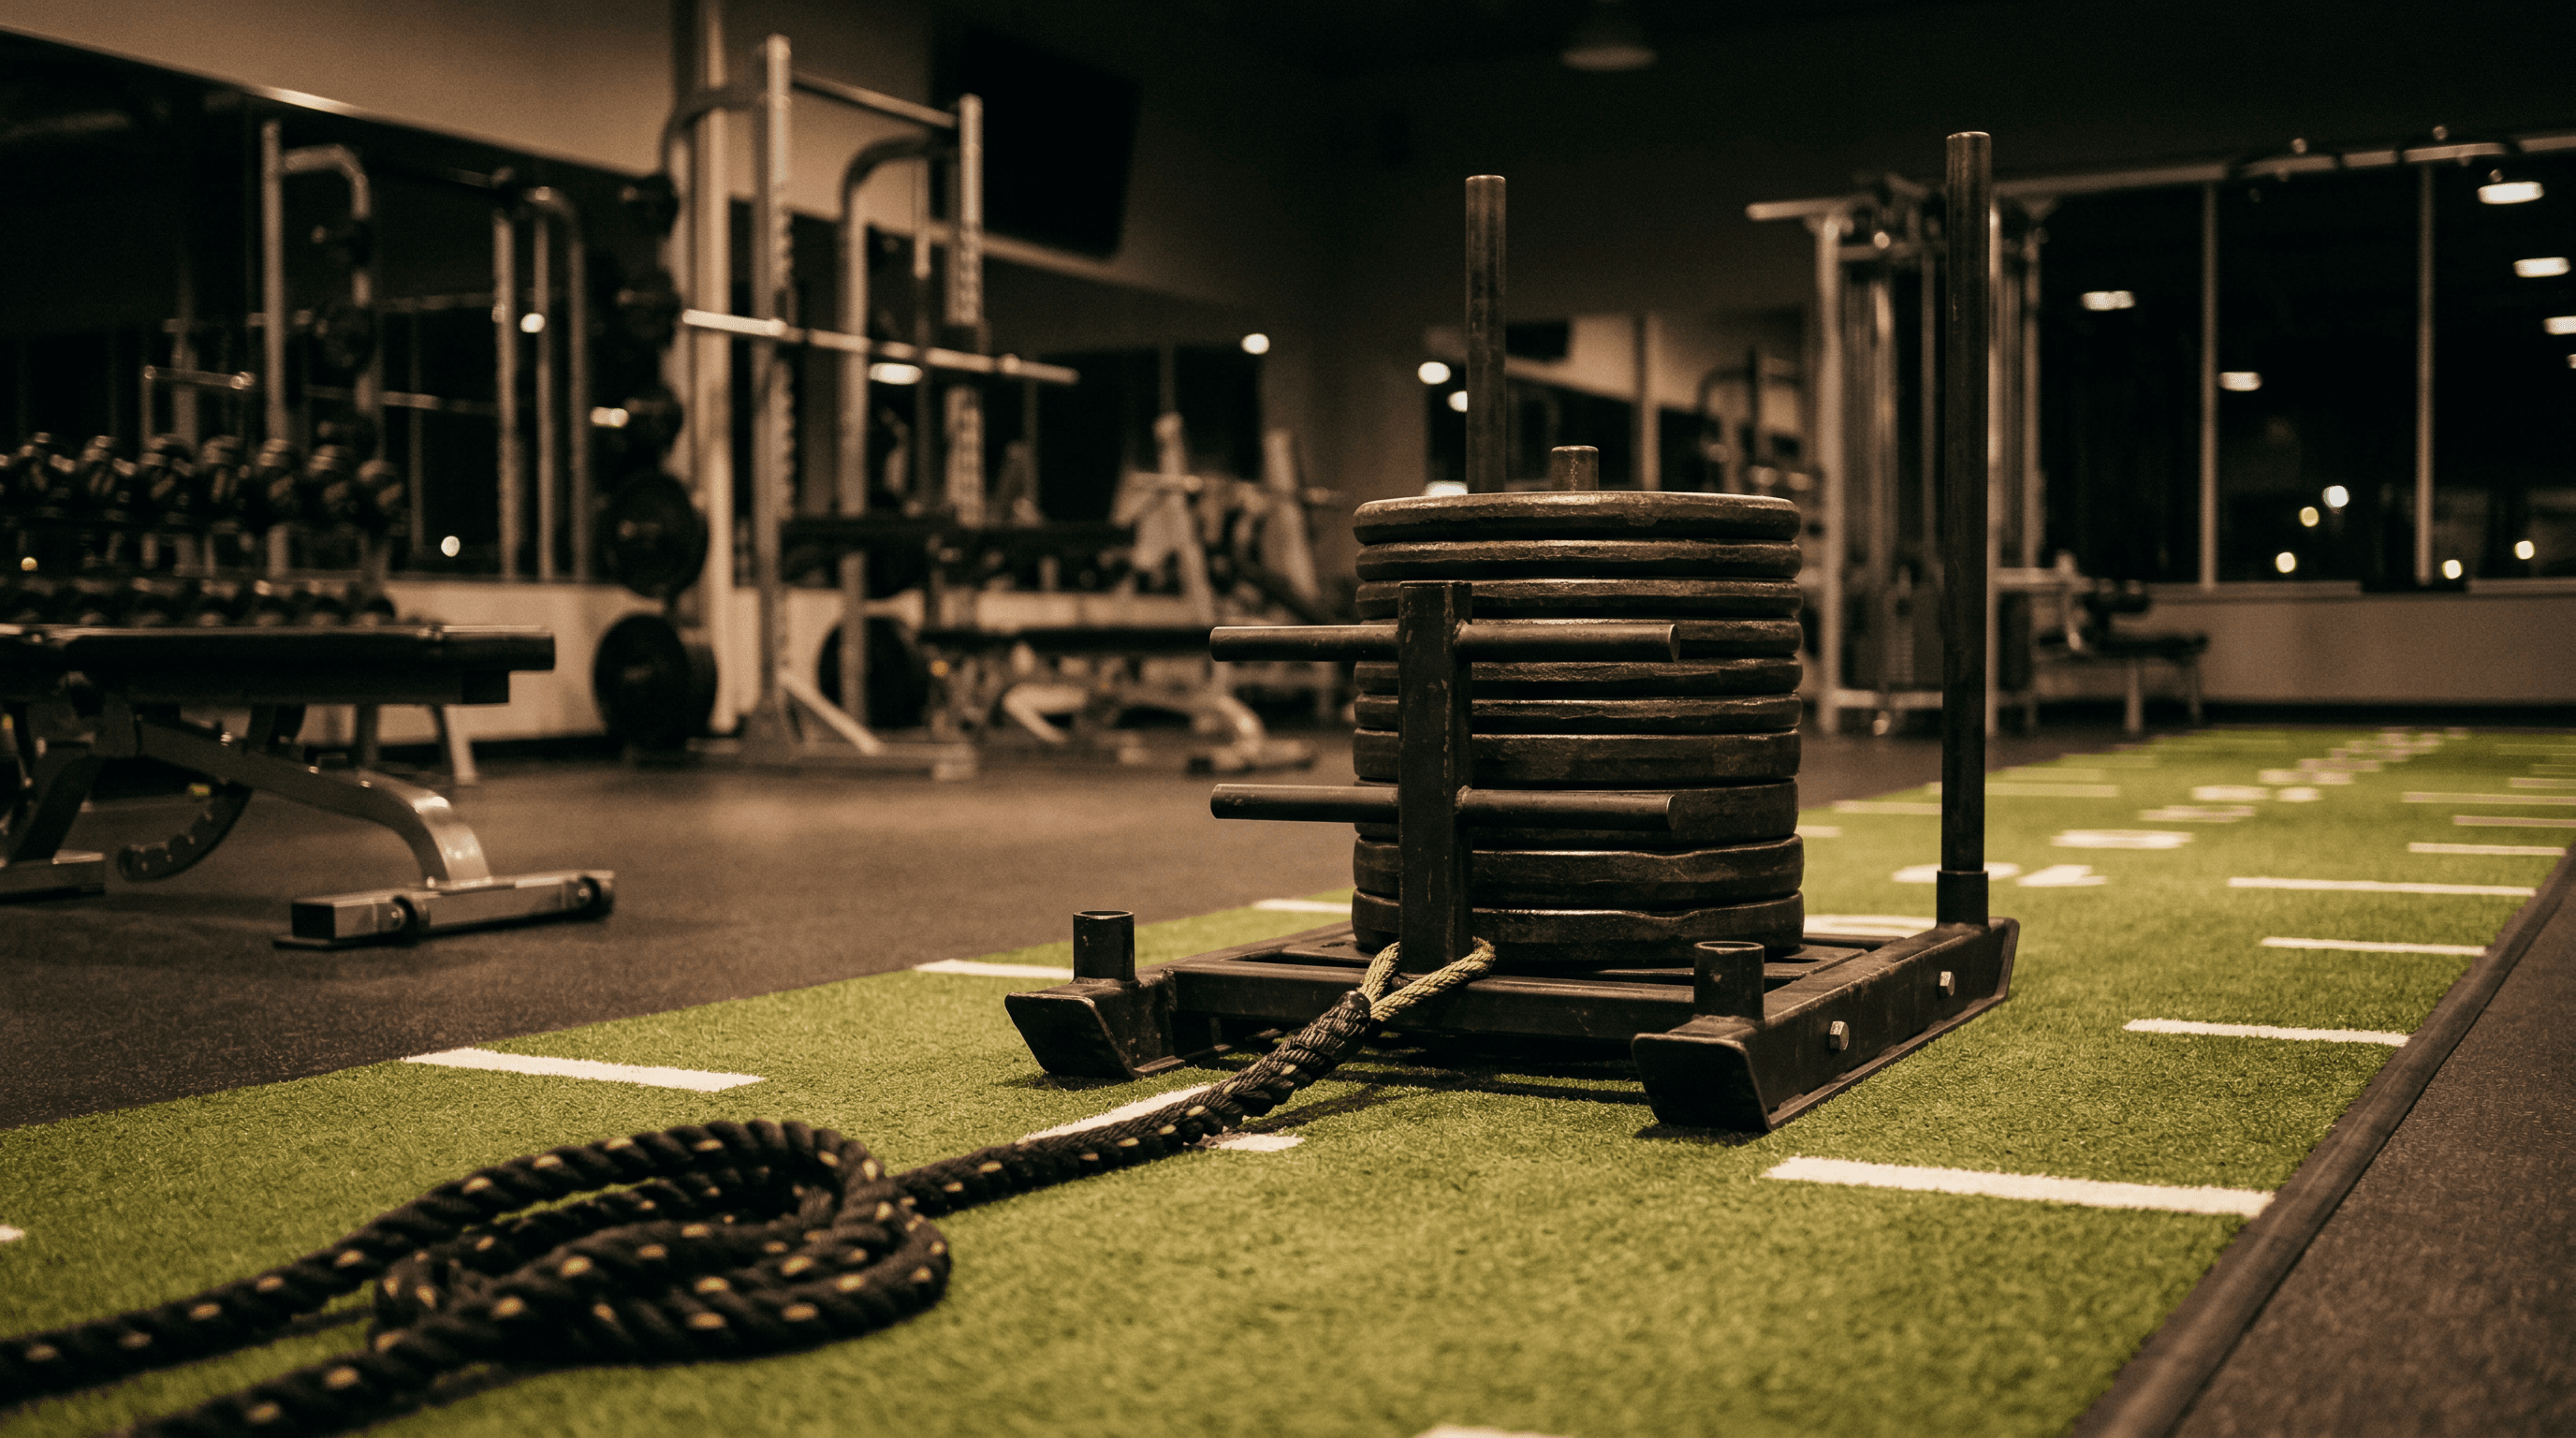
Prowler sled: The classic. A metal frame with skis on the bottom and posts for loading weight plates. Has high and low handles for pushing, and you can attach a rope or strap for pulling. The gold standard for sled work.
Drag sled: A flat platform or tire that you attach to a harness or handles. Pull it behind you as you walk or run. Cheaper and more portable than a prowler.
DIY options: A tire with a rope through it works perfectly for pulls. For pushes, a wheelbarrow loaded with sandbags gets the job done. A car in neutral on a flat parking lot is the old-school approach (put someone in the driver's seat for safety).
Surface matters: Sleds are significantly harder on turf or grass than on smooth concrete or gym flooring. Adjust your weight expectations based on your surface. A 90 lb sled on turf feels like 180 lbs on a smooth floor.
Sled Push Variations
High Handle Push
Grab the high handles and push. This creates a more upright torso position that emphasizes quad drive. Think of driving your legs like a sprint. This variation is less taxing on the lower back and is the best starting point for beginners.
Low Handle Push
Grab the low handles, lean forward at about a 45-degree angle, and drive. This position mimics a football blocking stance and puts enormous demand on your glutes, hamstrings, and core. The low handle push is harder and builds more total body strength.
Chest Push
Place your hands flat on the back of the sled at chest height and push with straight arms. This variation works your shoulders, chest, and triceps in addition to your legs. It is also the most metabolically demanding pushing variation.
Sled Pull Variations
Forward Drag
Attach a strap or rope to the sled, face away from it, and walk or run forward. This targets your quads, hip flexors, and calves. Great for knee health -- forward drags strengthen the VMO (inner quad) without compressive knee loading.
Backward Drag
Face the sled, grab the rope, and walk backward. This is one of the best exercises for knee rehabilitation and prehab. It strengthens the quads through a long range of motion with zero impact. Ben Patrick (Knees Over Toes Guy) built much of his knee rehab system around backward sled drags. Start light and do them regularly.
Hand-Over-Hand Pull
Sit on the ground or stand facing the sled. Pull the rope toward you hand over hand until the sled reaches you. Push it back and repeat. This is a brutal upper body and grip conditioning exercise.
Harness Drag
Attach the sled to a hip or shoulder harness and walk forward. This frees your hands and lets you add farmer's carries or other loaded carries simultaneously for a conditioning complex.
Programming Sleds for Conditioning
Heavy and Slow (Strength-Conditioning)
- •Load the sled to a weight that you can push or pull for 20-30 meters but forces you to dig in and work hard
- •Push or pull 20-30 meters, rest 60-90 seconds
- •Repeat for 6-10 rounds
- •Total session: 15-20 minutes
This builds leg strength and short-burst conditioning. Your quads and glutes will be pumped. Think of this as sled "strength training."
Light and Fast (Aerobic Conditioning)
- •Load the sled lightly -- about 25-30% of your heavy sled weight
- •Push or pull continuously for 10-15 minutes
- •Maintain a steady pace that lets you breathe but is uncomfortable
- •Heart rate should be 130-160 bpm
This is your cardio session. Low sled weight, high duration, continuous work. Great for building aerobic base without joint stress.
Sprint Intervals (Anaerobic Conditioning)
- •Load the sled at about 50-60% of your heavy sled weight
- •Sprint-push for 20-30 meters as fast as possible
- •Walk back to the start (this is your rest)
- •Repeat for 8-12 rounds
- •Total session: 10-15 minutes
This is the most metabolically demanding sled protocol. Your heart rate will spike to 85-95% of max on each sprint and partially recover during the walk back. Similar to hill sprints but without the eccentric damage from running downhill.
Sled Complex (Full-Body Conditioning)
Perform these back-to-back with no rest:
- •Heavy sled push (low handles) x 30 meters
- •Backward sled drag x 30 meters
- •Hand-over-hand pull x 30 meters
- •Forward sled drag x 30 meters
Rest 2-3 minutes. Repeat 3-5 rounds.
This is a full-body conditioning session that takes about 20 minutes and will have you lying on the ground questioning your choices. In the best way.
How Often and When
| Goal | Frequency | When in the Week |
|---|---|---|
| General conditioning | 2-3x per week | After lifting or on off days |
| Fat loss support | 3-4x per week | Post-lift finisher or separate sessions |
| Knee rehab (backward drags) | Daily | Light weight, 5-10 minutes |
| Leg strength supplement | 1-2x per week | On lower body days |
Key rule: Because sled work has no eccentric component, it generates almost no muscle soreness. This means you can do it more frequently than other conditioning work without impacting recovery. Most lifters can sled 3-4 times per week without any negative effect on their main lifts.
However, sled work still creates fatigue. If you are doing heavy sled pushes 4 times a week AND squatting heavy twice a week AND running a calorie deficit, something will give. Monitor your performance on your main lifts. If they start declining, reduce sled volume first.
Sled Work for Lifters Who Hate Cardio
If you cannot stand traditional cardio (treadmill, bike, rowing), sleds might be the answer. A 10-15 minute sled session provides a meaningful conditioning stimulus in a fraction of the time that most "cardio" takes. It feels more like training and less like punishment. The work-rest structure keeps things interesting, and the full-body nature of the movement makes it feel productive rather than mindless.
Many strength coaches consider the sled the single best conditioning tool for lifters. Try it for a month. You will understand why.
Frequently Asked Questions
- What should I know about zero-eccentric advantage?
- Most exercises have two phases: a concentric phase (the muscle shortens) and an eccentric phase (the muscle lengthens under load). The eccentric phase is what causes most muscle soreness and tissue damage. That is why you can barely walk after heavy squats -- it is the lowering portion that destroys you.
- What should I know about equipment options?
- Prowler sled: The classic. A metal frame with skis on the bottom and posts for loading weight plates. Has high and low handles for pushing, and you can attach a rope or strap for pulling. The gold standard for sled work.
- What should I know about high handle push?
- Grab the high handles and push. This creates a more upright torso position that emphasizes quad drive. Think of driving your legs like a sprint. This variation is less taxing on the lower back and is the best starting point for beginners.
- What should I know about low handle push?
- Grab the low handles, lean forward at about a 45-degree angle, and drive. This position mimics a football blocking stance and puts enormous demand on your glutes, hamstrings, and core. The low handle push is harder and builds more total body strength.
- What should I know about chest push?
- Place your hands flat on the back of the sled at chest height and push with straight arms. This variation works your shoulders, chest, and triceps in addition to your legs. It is also the most metabolically demanding pushing variation.