Rucking Starter Program: 4-Week Weighted Walk Progression
Build functional fitness and conditioning with weighted walking. A simple 4-week rucking program that anyone can start.
Send to WhatsApp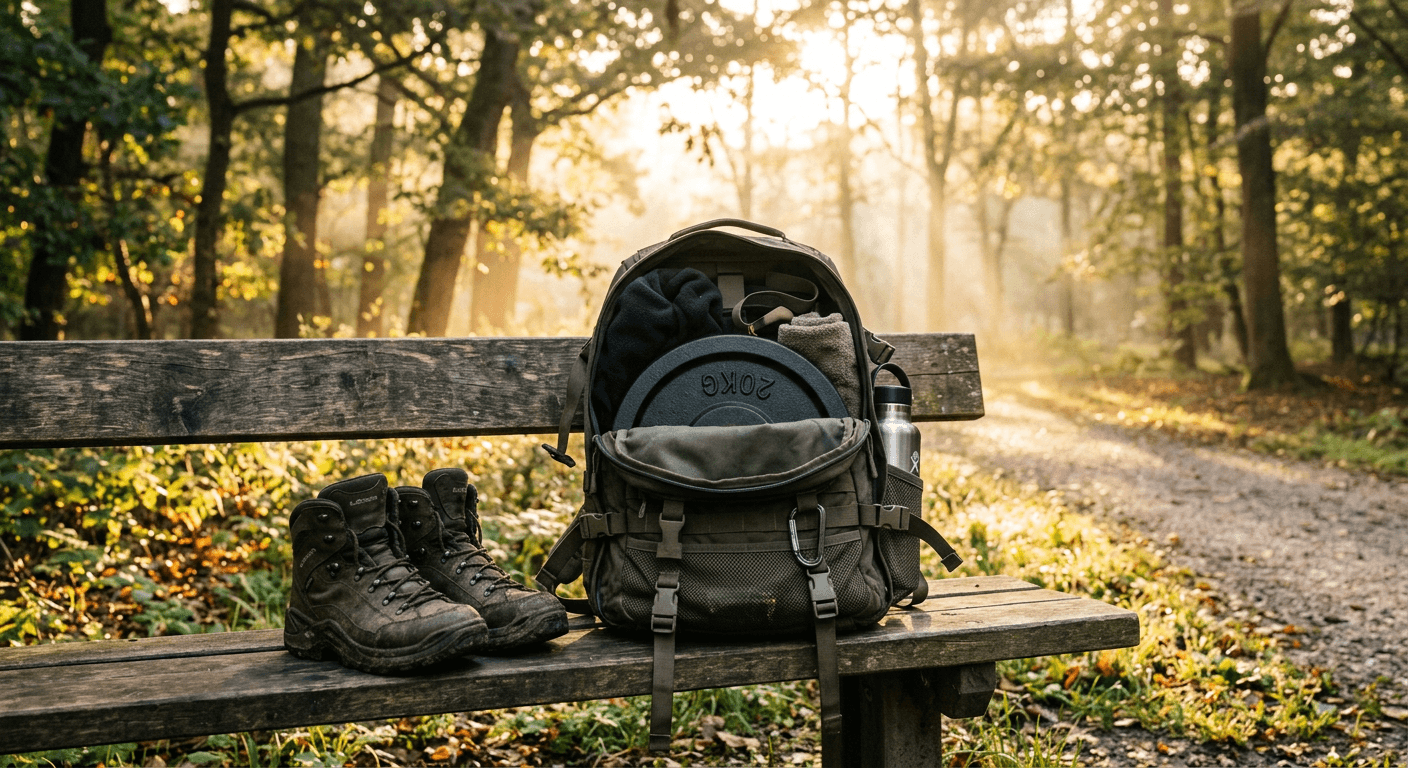
Overview
Rucking is walking with a weighted backpack. That is it. No fancy equipment, no gym membership, no complicated programming. It is one of the most effective and underrated conditioning tools available, and it has been used by the military for decades.
Why rucking works for lifters: it builds lower body endurance, strengthens your posterior chain under load, improves cardiovascular fitness, and burns significantly more calories than regular walking -- all without the joint impact of running. A 180-pound person rucking with 20 pounds at a moderate pace burns roughly 400-500 calories per hour compared to 250-300 from regular walking.
This 4-week program takes you from zero rucking experience to comfortable weighted walks. It is designed to complement your existing lifting program, not replace it.

What You Need
A backpack. A regular backpack works fine for starting out. Eventually you may want a dedicated rucking pack (GORUCK, 5.11, or similar) with a padded hip belt and sternum strap, but do not spend money until you know you enjoy it.
Weight. Options from cheapest to best:
- •Wrapped weight plate (wrap in a towel to prevent the plate from digging into your back)
- •Sandbag (fill a heavy-duty bag with sand, double-bag it)
- •Ruck plate (purpose-built flat weight that sits against your back -- the best option but costs $30-60)
- •Bricks (old school, works in a pinch)
Placement matters. The weight should sit high in your pack, between your shoulder blades. Weight that sags to the bottom of the pack pulls you backward and strains your lower back. Use the towel-wrap method or a ruck plate to keep the weight positioned correctly.
What to Wear
- •Shoes: Regular walking shoes or hiking shoes with good ankle support. Trail runners work well. Avoid running shoes with thick, soft cushioning -- you want a stable platform under load.
- •Socks: Moisture-wicking socks. Cotton socks plus long walks plus load equals blisters. Merino wool or synthetic blends are best.
- •Clothing: Dress for the weather. You will run warmer than normal walking because of the extra effort. In cool weather, start slightly cold -- you will warm up fast.
- •Gloves (optional): In cold weather, your hands are free but exposed. Pack lightweight gloves.
Posture Cues
Good posture during rucking prevents injury and makes the load feel lighter:
- •Stand tall. Do not lean forward. The weight will try to pull you into a hunch. Fight it by imagining a string pulling you up from the top of your head.
- •Shoulders back and down. Not pinched together -- just pulled gently back from the rounded position.
- •Core braced. A light brace, like someone is about to poke you in the stomach. This protects your lower back.
- •Short, quick steps. Overstriding under load puts excessive force on your knees and hips. Keep your stride moderate.
- •Eyes forward. Looking down shifts your head forward and puts your neck under strain.
The 4-Week Program
Week 1: Learning the Load
| Session | Duration | Weight | Terrain | Pace |
|---|---|---|---|---|
| Session 1 | 20 min | 15 lbs | Flat | Easy conversational |
| Session 2 | 20 min | 15 lbs | Flat | Easy conversational |
Focus: Get used to walking with weight on your back. Pay attention to how the pack feels, adjust weight placement, practice posture cues. Do not worry about pace or distance. Two sessions this week, with at least one full rest day between them.
Week 2: Building Duration
| Session | Duration | Weight | Terrain | Pace |
|---|---|---|---|---|
| Session 1 | 25 min | 15 lbs | Flat | Moderate |
| Session 2 | 25 min | 15 lbs | Mostly flat, some gentle inclines | Moderate |
Focus: Slightly longer sessions. Start exploring routes with minor elevation changes -- a neighborhood hill, a park trail with gentle slopes. Maintain good posture the entire time. If your form breaks down, slow your pace.
Week 3: Adding Weight and Frequency
| Session | Duration | Weight | Terrain | Pace |
|---|---|---|---|---|
| Session 1 | 25 min | 20 lbs | Flat to moderate hills | Moderate |
| Session 2 | 25 min | 20 lbs | Flat to moderate hills | Moderate |
| Session 3 | 25 min | 20 lbs | Flat | Easy |
Focus: Three sessions this week. The weight increase is small (5 lbs) but you will feel it. The third session is intentionally easy -- flat terrain, relaxed pace. This teaches your body to handle the extra frequency without overloading it.
Week 4: Peak Volume
| Session | Duration | Weight | Terrain | Pace |
|---|---|---|---|---|
| Session 1 | 30 min | 20 lbs | Moderate hills | Moderate to brisk |
| Session 2 | 30 min | 20 lbs | Flat to moderate hills | Moderate |
| Session 3 | 30 min | 20 lbs | Flat | Moderate |
Focus: Longer sessions with the increased weight. By now your body has adapted to the load and the walking volume. Push the pace slightly on Session 1 if you feel strong. Session 3 stays flat and moderate as active recovery.
Pacing Guidelines
Rucking pace is slower than your normal walking pace. This is expected. The load adds effort that your legs and cardiovascular system need to work harder to manage.
| Weight | Target Pace |
|---|---|
| 15 lbs | 15-17 min/mile |
| 20 lbs | 16-18 min/mile |
| 30 lbs | 17-20 min/mile |
| 40+ lbs | 18-22 min/mile |
These are guidelines, not rules. Your pace will depend on terrain, temperature, fitness level, and how your body feels that day. The goal is steady effort, not speed. If you are gasping for air, you are going too fast or carrying too much weight.
Terrain Progression
Start flat, add hills gradually.
- •Weeks 1-2: Sidewalks, paved paths, flat trails. Master the basics without the added challenge of uneven ground.
- •Weeks 3-4: Introduce moderate hills and unpaved trails. Hills increase the cardiovascular demand and strengthen your calves, glutes, and hamstrings more than flat ground.
- •After Week 4: Explore steeper hills, longer trails, and varied terrain. Sand and gravel add extra difficulty without adding pack weight.
Safety Tips
- •Hydrate before and during. Carry water on any ruck over 30 minutes, especially in warm weather. A handheld bottle or hydration bladder in your pack works fine.
- •Start lighter than you think. 15 pounds does not sound like much until you have walked 20 minutes with it on your back. Ego-loading your ruck pack is just as dumb as ego-loading a barbell.
- •Watch your footing. Under load, a rolled ankle is worse than it would be unweighted. Pay attention to the ground, especially on uneven terrain.
- •Do not ruck on consecutive days in the first two weeks. Your feet, shoulders, and hips need time to adapt to the loaded walking.
- •Stop if something hurts. Aching feet or shoulders that resolve after the session are normal. Sharp pain in your knees, hips, or lower back is not. Reduce weight or duration and reassess.
- •Tell someone your route. If you are rucking in remote areas or on trails, let someone know where you are going and when you expect to be back. Carry your phone.
How to Load Your Pack
- •Place the weight as high as possible in the pack, between your shoulder blades.
- •The weight should sit flat against your back. Wrap plates in a towel or use a ruck plate to prevent the weight from shifting or creating pressure points.
- •Cinch the shoulder straps snug so the pack does not bounce or sway.
- •If your pack has a hip belt, use it. Transferring some load to your hips reduces shoulder fatigue significantly on longer rucks.
- •If your pack has a sternum strap, clip it. It prevents the shoulder straps from sliding outward and improves stability.
After the 4 Weeks
You now have a solid rucking foundation. From here, you can progress in several ways:
- •Increase weight: Add 5 lbs every 2-3 weeks. Most recreational ruckers top out at 30-45 lbs. There is no need to go heavier unless you are training for military selection.
- •Increase duration: Build toward 45-60 minute sessions. Long rucks (60+ minutes) are excellent for mental toughness and fat burning.
- •Increase terrain difficulty: Steeper hills, longer trails, varied surfaces.
- •Add a long ruck day: Once per week, do a longer session (60-90 minutes) at a moderate pace. This is the rucking equivalent of a long run.
Rucking is one of the simplest and most sustainable forms of conditioning. It requires almost no equipment, it is easy on the joints compared to running, and it builds functional strength that carries over to daily life. If you hate traditional cardio, try rucking. Most lifters who try it do not go back.
Get a Free AI Coach on WhatsApp
Ask questions, get workout plans, and track your progress — all from WhatsApp.
Message Your CoachFrequently Asked Questions
- What should I know about overview?
- Rucking is walking with a weighted backpack. That is it. No fancy equipment, no gym membership, no complicated programming. It is one of the most effective and underrated conditioning tools available, and it has been used by the military for decades.
- What You Need?
- A backpack. A regular backpack works fine for starting out. Eventually you may want a dedicated rucking pack (GORUCK, 5.11, or similar) with a padded hip belt and sternum strap, but do not spend money until you know you enjoy it.
- What should I know about posture cues?
- Good posture during rucking prevents injury and makes the load feel lighter:
- What should I know about week 1: learning the load?
- Focus: Get used to walking with weight on your back. Pay attention to how the pack feels, adjust weight placement, practice posture cues. Do not worry about pace or distance. Two sessions this week, with at least one full rest day between them.
- What should I know about week 2: building duration?
- Focus: Slightly longer sessions. Start exploring routes with minor elevation changes -- a neighborhood hill, a park trail with gentle slopes. Maintain good posture the entire time. If your form breaks down, slow your pace.